As a trusted supplier of box strapping tools, I'm excited to share with you the detailed operation process of these essential devices. Box strapping tools are widely used in various industries to secure packages, bundles, and pallets, ensuring safe transportation and storage. Understanding how to operate these tools correctly is crucial for achieving efficient and reliable strapping results.
1. Preparation
Before using a box strapping tool, it's important to make adequate preparations. First, select the appropriate strapping material. Common strapping materials include polypropylene, polyester, and steel, each with its own characteristics and applications. For general packaging purposes, polypropylene strapping is a popular choice due to its affordability and flexibility. Polyester strapping, on the other hand, offers higher tensile strength and is suitable for heavier loads. Steel strapping is the strongest option and is often used for securing extremely heavy or sharp-edged items.
Next, check the condition of the strapping tool. Ensure that all parts are in good working order, and there are no signs of damage or wear. Lubricate the moving parts as recommended by the manufacturer to ensure smooth operation. Also, make sure you have a sufficient supply of strapping material and any necessary accessories, such as seals or buckles.
2. Loading the Strapping Material
Once you've prepared the tool and selected the appropriate strapping material, it's time to load the strapping into the tool. The loading process may vary depending on the type of strapping tool you're using.
Manual Strapping Tools
For manual strapping tools, start by unwinding a length of strapping from the coil. Insert the end of the strapping through the feed slot of the tool, following the direction indicated by the arrows on the tool. Pull the strapping through until a sufficient length is exposed on the other side of the tool.
Automatic Strapping Machines
Automatic strapping machines typically have a built-in mechanism for loading the strapping. First, open the strapping magazine or reel holder and place the coil of strapping into it. Thread the end of the strapping through the guides and rollers in the machine, following the path specified in the user manual. The machine will then automatically feed the strapping through the system as needed.
3. Positioning the Strapping
After loading the strapping, position it around the package or item you want to strap. Make sure the strapping is centered and aligned properly to ensure a secure and even strap. If you're strapping multiple items together, arrange them in a stable and compact manner to prevent shifting during the strapping process.
For rectangular packages, you can use the "cross" or "parallel" strapping method. In the cross strapping method, the strapping is applied diagonally across the package, creating an "X" shape. This method provides additional stability and is suitable for securing larger or irregularly shaped packages. In the parallel strapping method, the strapping is applied horizontally or vertically across the package, depending on its orientation. This method is commonly used for smaller or rectangular packages.
4. Tensioning the Strapping
Once the strapping is positioned around the package, it's time to tension it to the desired level. Tensioning is an important step in the strapping process as it ensures that the strapping is tight enough to hold the package securely but not so tight that it damages the package or the strapping itself.
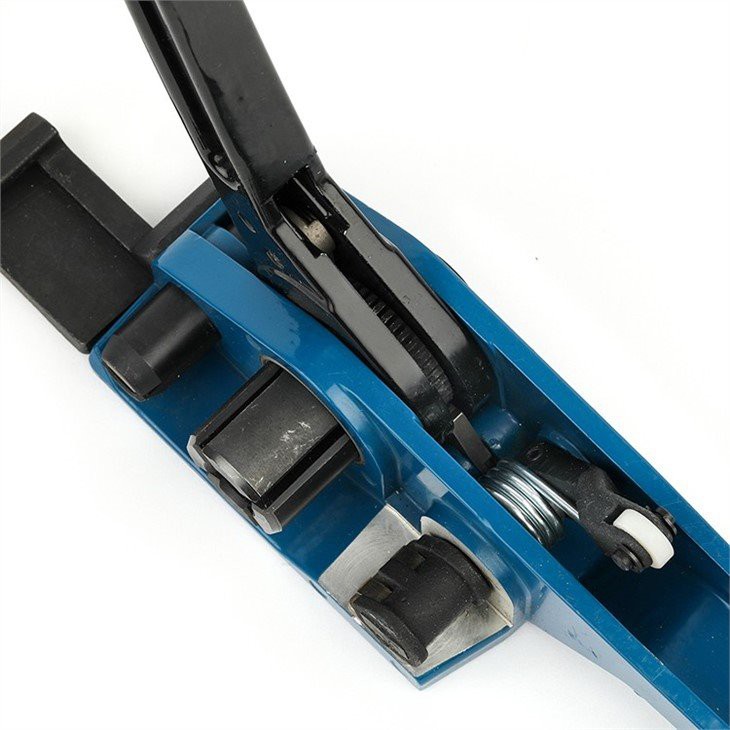
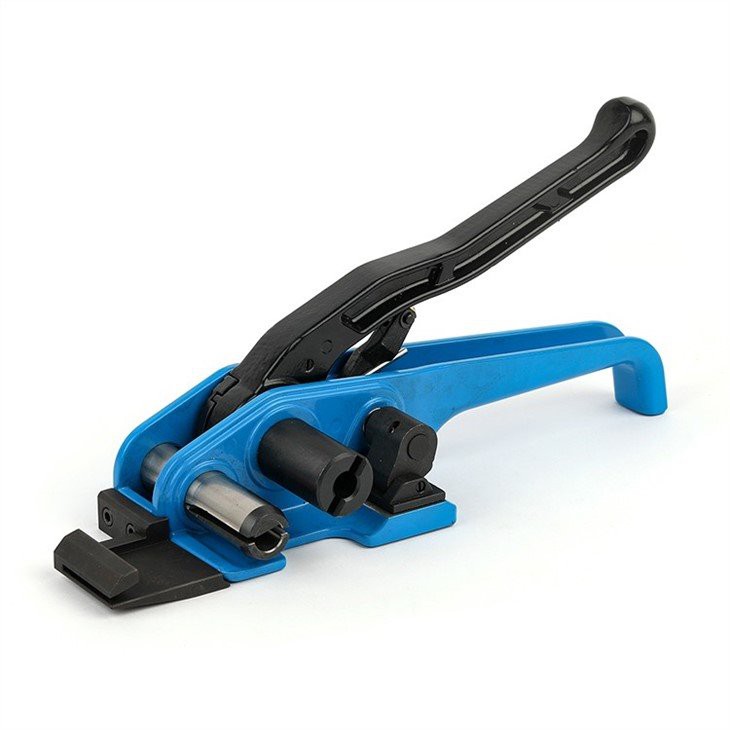
Using a Cord Strap Tensioner
A Cord Strap Tensioner is a popular tool for tensioning cord strapping. To use a cord strap tensioner, place the tensioner on the strapping, with the teeth of the tensioner gripping the strapping. Pull the handle of the tensioner to apply tension to the strapping. Continue pulling until the desired tension is reached. Most cord strap tensioners have a built-in mechanism that allows you to adjust the tension level.
Using a Pneumatic Tensioner
A Pneumatic Tensioner is a more powerful and efficient tool for tensioning strapping. To use a pneumatic tensioner, connect the tool to a compressed air source. Place the tensioner on the strapping and activate the tool by pressing the trigger. The pneumatic tensioner will automatically apply tension to the strapping until the preset tension level is reached. Pneumatic tensioners are ideal for high-volume strapping applications as they can quickly and consistently apply the correct amount of tension.
5. Sealing the Strapping
After tensioning the strapping, the next step is to seal it to secure the package. There are several methods for sealing strapping, including using seals, buckles, or heat sealing.
Using Seals
Seals are a common method for sealing strapping. To use seals, place the seal over the overlapping ends of the strapping. Use a sealer tool to crimp the seal onto the strapping, creating a secure connection. Seals come in various sizes and materials, such as steel, aluminum, and plastic. The type of seal you choose will depend on the type of strapping and the application.
Using Buckles
Buckles are another option for sealing strapping. Buckles are typically made of metal or plastic and are designed to be threaded onto the strapping. Once the buckle is in place, tighten the strapping by pulling on the free end. Buckles are easy to use and can be reused multiple times.
Heat Sealing
Heat sealing is a method of sealing strapping that uses heat to melt the strapping material and create a bond. Heat sealing is commonly used with polypropylene and polyester strapping. To heat seal strapping, use a heat sealer tool that applies heat to the overlapping ends of the strapping. The heat melts the strapping material, and when it cools, it forms a strong and permanent bond.
6. Cutting the Strapping
After sealing the strapping, use a cutting tool to trim the excess strapping. Make sure to cut the strapping close to the seal or buckle to ensure a clean and professional finish. Be careful not to cut the strapping too short, as this may cause the seal or buckle to come loose.
7. Inspecting the Strapping
Once the strapping process is complete, inspect the strapping to ensure that it is secure and properly applied. Check the tension of the strapping to make sure it is tight enough to hold the package securely. Look for any signs of damage or wear on the strapping, such as cuts, tears, or fraying. If you notice any issues, re-tension or re-seal the strapping as necessary.
Conclusion
Operating a box strapping tool correctly is essential for achieving efficient and reliable strapping results. By following the steps outlined in this blog post, you can ensure that your packages are securely strapped and ready for transportation or storage. As a leading supplier of box strapping tools, we offer a wide range of high-quality products, including Cord Strap Tensioner, Pneumatic Tensioner, and Poly Cord Strapping Kit. If you have any questions or need assistance with selecting the right strapping tool for your application, please don't hesitate to contact us. We're here to help you find the best solutions for your strapping needs.
References
- Packaging Machinery Manufacturers Institute (PMMI). (2023). Strapping Equipment Handbook.
- ASTM International. (2022). Standard Specifications for Strapping Materials.
- Strapping Tool Manufacturers Association. (2023). Best Practices for Strapping Tool Operation.